Knitted Chapstick Holders
Click the link below to download both versions of this pattern. Individual downloads for each version are below the heading for each type.
| chapstick_holder_both_types.txt |
COMING SOON! PDF version to download!
Keep an eye on my Updates! page or follow me on Twitter (@foresterswife) for more details.

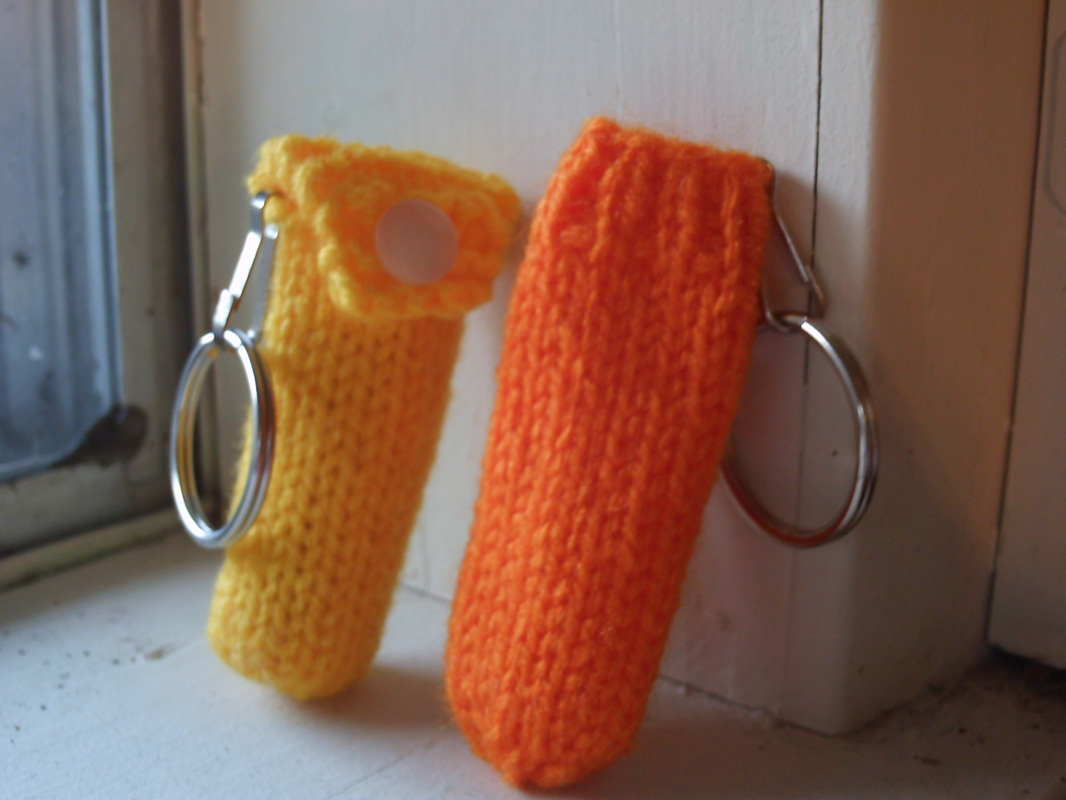

I crocheted a handful of chapstick holders over a year ago and thought they made such practical gifts. I liked the crocheted version, but decided to work up a design for a knitted holder. This is a wonderfully quick and satisfying project and you can make many of them with very little yarn. They are great to knit up in your spare time or when you need a break from a long or tedious project, and then keep them for when you need a little something to add to another gift or as a gift itself. They also would make great stocking stuffers!
Supplies
Yarn:
sport weight yarn of any fiber type; pictured above is Red Heart Sport, 100% acrylic
Needles:
US size 3 (and size 2 if working ribbed version) or size needed to obtain gauge (plus one smaller if ribbed version); can be either DPNs or a circular needle to work using magic loop
Gauge:
6.5 sts by 8 rows = 1" square
Other:
tapestry needle, scissors
Specific:
1/4" button if working flap/button closure version; key ring and clasp or other hanging device for either type
A note about gauge: stitch gauge is more important than row gauge.
A note about sizing: this pattern is written to create a holder that will fit a normal Chapstick brand chapstick. You can easily modify it for a larger chapstick/lip gloss/lipstick using your measured gauge and doing a few calculations.
Stitch Abbreviations List
k = knit
p = purl
k2tog = knit the next two stitches together
ssk = slip next two stitches knitwise, one at a time; return to left needle and knit them together through the back loop
kfb = knit next stitch through front loop without removing it from the left needle; knit same stitch again through the back loop and remove from left needle
yo = yarn over
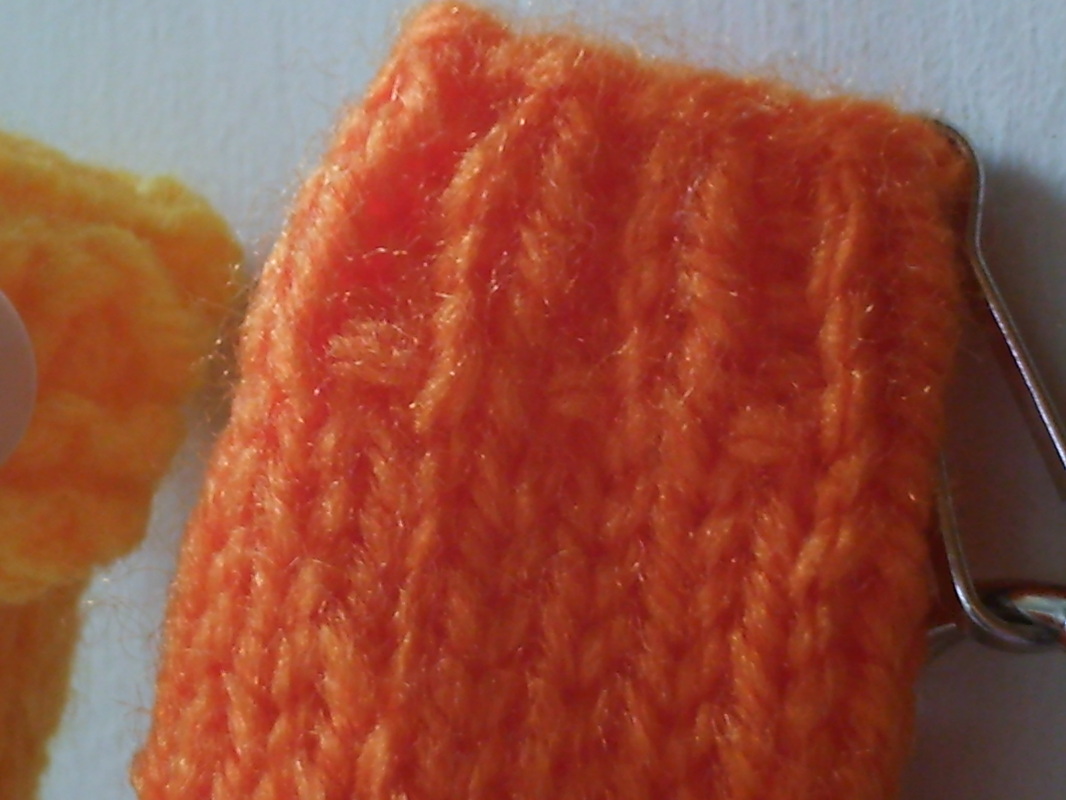
Type 1: Holder With Ribbing (no flap or button)

Click the link below to download the type 1 pattern only to your computer.
| chapstick_holder_type_1.txt |
Using smaller needles, CO 16 sts, arrange to work in the round.
Work 4 rounds of k1,p1 ribbing.
Switch to larger needles and work 18 rounds in stockinette (knit every round).
Round 23: *k1, k2tog*, repeat from * to * to last stitch, k1 (11 sts)
Round 24: (k2tog) twice, k1, (k2tog) 3 times (6 sts)
Cut yarn leaving a 4-5" tail.
With tapestry needle, thread tail through remaining stitches and remove from knitting needles. Pull tightly towards inside of tube to close hole. Turn tube inside out and weave in both tails. Return to rightside-out and attach hanging device to edge of ribbing, being sure to catch at least 3 threads.
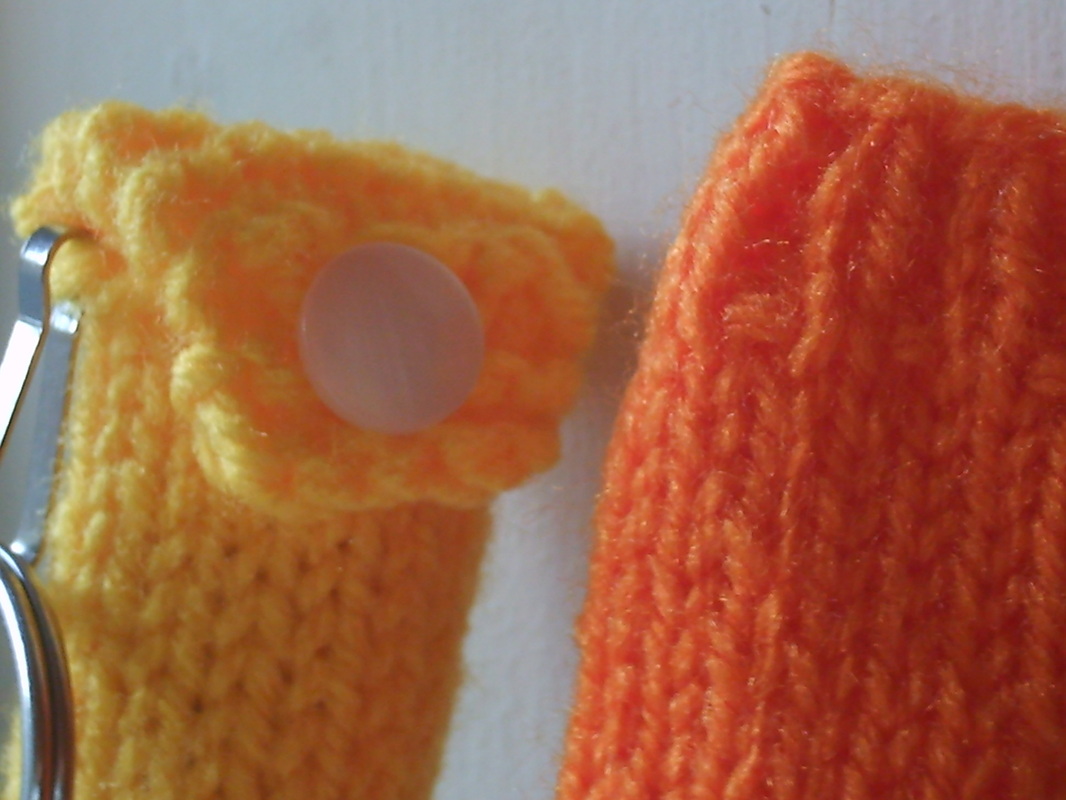
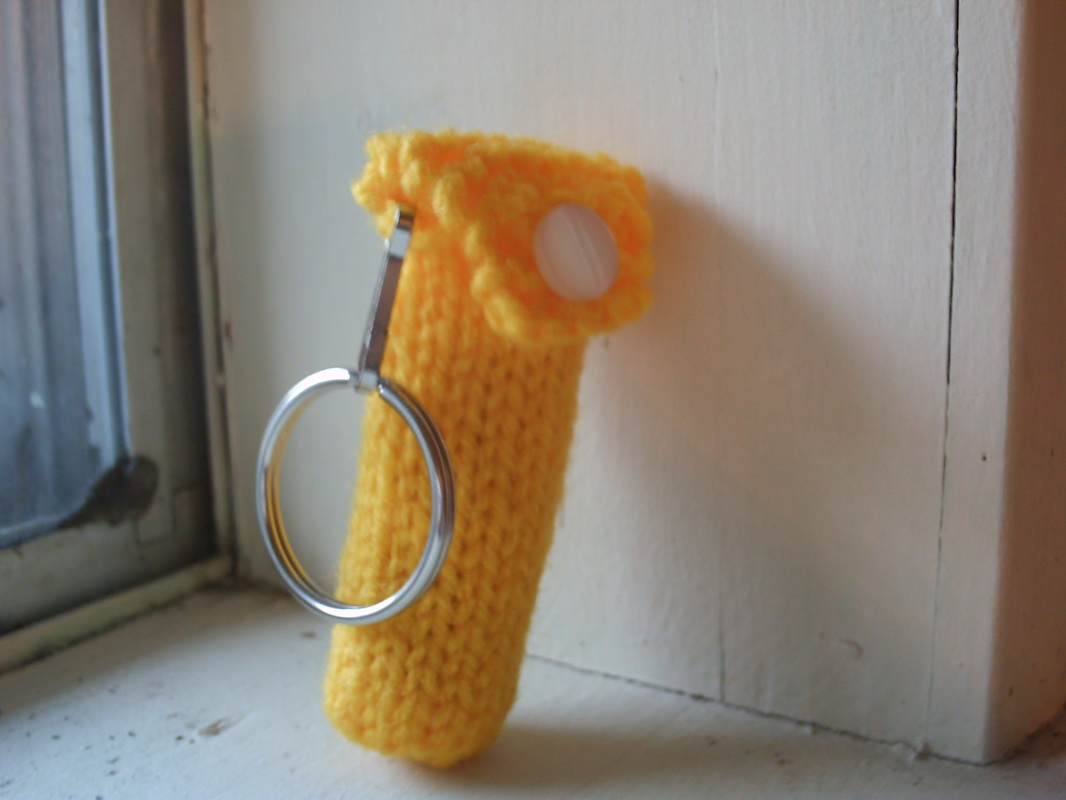
Type 2: Holder With Flap and Button Closure

Click the link below to download the type 2 pattern only to your computer.
| chapstick_holder_type_2.txt |
CO 6 sts and arrange to work in the round.
Round 1: (kfb) 5 times, k1 (11 sts)
Round 2: (kfb, k2) twice, (kfb, k1) twice, kfb (16 sts)
Work 19 rounds in stockinette (knit every round).
Round 22: BO 8, k8, turn
Work 8 rows in garter (knit every row).
Row 31: k1, ssk, k2, k2tog, k1, turn
Row 32: k1, ssk, yo, k2tog, k1, turn
Row 33: knit across, turn
Row 34: knit across, turn
BO all stitches. Cut yarn, leaving 3-4" tail.
With beginning tail, weave around open hole at the bottom of the tube, bring to inside of tube, and pull tightly to close hole. Turn the tube inside out and weave in both yarn tails. Return to rightside-out.
Insert chapstick into the tube, fold flap down, and mark where the button should go with an extra sewing needle or other pointy object. Lift flap and sew button on in marked spot. Attach hanging device in the top of the tube, either on the right or left side next to flap opening, being sure to catch at least 3 threads in the clasp.
